 |
| Officially entering the preserve. |

 |
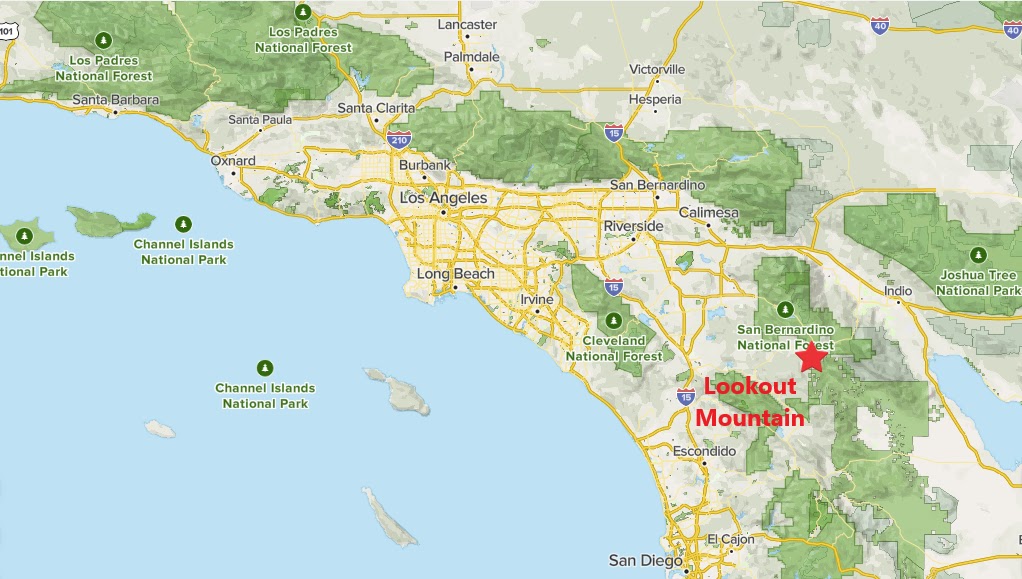
| Southern California Map |
 |
| Driving Map |
*Parking at Mount Gower Open Space Preserve is 25 miles east of Interstate 15.
Trailhead coordinates: 33.02514°N, -116.79680°W.
Hiking Stats:
 |
| Hiking Map |
Summary:
After spending so much time lately chasing easy to moderate nearby summits, I felt the need to take advantage of the cool weather and get a more strenuous peak. I had been in the Ramona area in the summer and experienced the heat. I wanted to get the tougher Mt Gower hike completed on a cool day rather than in the hot summer months. January seemed like a reasonable time to swing by, so I made it a priority.
 |
| A rare moment of shade trees on the trail. |
I arrived relatively early, but parked at the end of the road, rather than driving in on the gravel access road. This added about a half mile to my hiking day. Once at the trailhead, the trail wasn't very clear to me, because the ones I saw didn't go in the direction of the peak. I eventually had to take a chance before realizing that I was indeed going in the right way. The trail bends around in odd angles, and sometimes goes downhill and away from the peak. However, what it is doing is to go around some of the lower ridges before elevating on the ridge for Mt Gower. In short. it gets where it is going in a round about way.
 |
| A good view of Mount Gower early in the hike. |
As expected, there is not much shade on the hike, thus the January visit. When there were pockets of shade, it was a welcomed relief, even in January. Meanwhile, the trail climbs toward granite slabs below the summit. The hardest part of the hike begins here, with narrow use trails climbing through the rocky slabs. I arrived at the summit boulder and declared victory. I noticed a trail that continues along the ridge to the east, but ignored it, since it didn't look any higher than where I was. I returned along the same pathway to conclude the day hike and feeling satisfied about knocking off another major San Diego summit.
 |
| Approaching the summit. |
Unfortunately, after doing research, I realized that the true summit is on that trail to the east. I still consider that I completed the peak though, since it looks like an optical illusion to call the eastern peak the high point, and it was a short flat walk away.
 |
| Summit views. |
Video:


